Thank you to all who read my Blog and leave a comment. I really do appreciate every one of them and do my utmost to reply as soon as possible.
Crafty hugs to all!


Showing posts with label Rose Panel Stencil. Show all posts

Saturday, 30 August 2014

Roses and Grunge Paste

Hi Folks!  Hope you are all well out there in craft land!  I myself have had some type of lurgy this past month...just not shifting. So I have not been doing very much in my craft world.  I have been having a play with some old techniques ( thank you Barbara Gray for reminding me about them and also for the new take on one of them too).

So what am I rambling about?  Well it started recently when Barbara Gray  (on her daily blog) reminded us about the 'shaving foam' technique with liquid inks.  It had been such a long time since I had had a go at this that I of course had to nick hubbies shaving foam and have a play.  This came in handy as I had a couple of orders to fulfil...one a feminine card and the other was for a piece of wall art for a ladies bedroom.

So having had a play I set my bits aside and then went to read Barbara's Blog again and this time she was playing about with Grunge Paste, only she had added an extra little technique to using it...so I just had to have a go at that too.

This post will concentrate on the Grunge Paste Piece and I will blog the other bits n pieces later this week.
I chose a piece of marbled satin card from my shaving foam session.  Lovely shades of pink and pale green. I decided to use the Rose Panel Stencil from Clarity Stamp which has a lovely feminine Rennie Macintosh type feel to it.


I masked off the centre piece of my Rose Stencil and using a Stencil Brush, brushing Adirondack Pink Sherbet ink in from outside edges
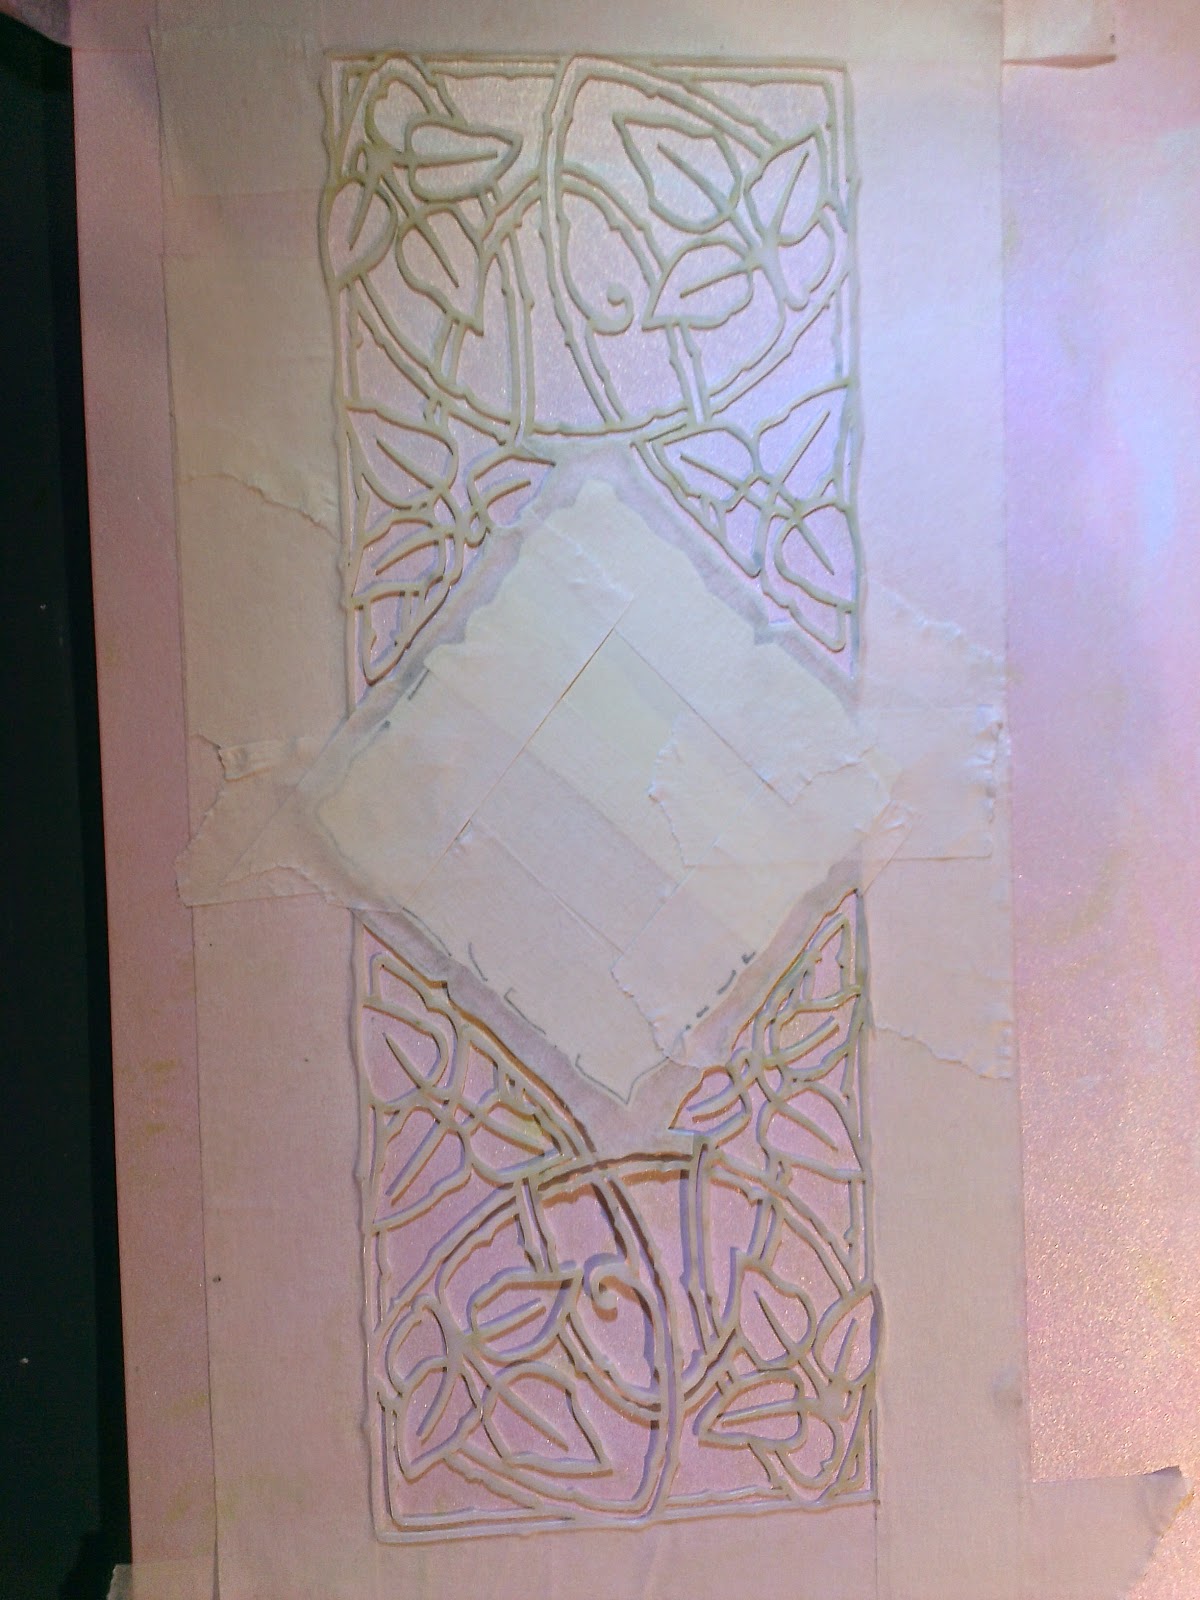


I then covered this and the outer edges of the stencil too.
I then applied a layer of Grunge Paste to the exposed panels at either end of the stencil.

I removed the stencil at once to wash the paste off.


Once this was dry I re-masked the stencil adding masks to the leaves.  I then added colour to the Grunge paste using Distress inks - Bundled sage, Shabby Shutters and Adirondack - Pink Sherbet.

I removed the leaf masks and the stencil and dusted it all with talcum powder then replaced the stencil and once again masked up the edges and centre piece.


Once this was done I took a Versamark Ink Pad directly to the artwork over the stencil.  I then  poured some clear Thermographic Embossing Powder over it all.  I removed the stencil and masks  (checked to see for stray powder) and then I used my heat gun to set the powder.  I heated it from underneath to get a smooth finish.


What you get in the end is a ceramic finish to the Grunge Paste with a lovely shine to it.


I trimmed the artwork and mounted it onto Theuva Card which I shaded using Distress ink - Shabby Shutters ( a little bit of brayering thrown in ).  This was then mounted onto book cover board ( for the life of me I can't remember what it's called ) which I covered with Derwent Artist Watercolour Paper using Hi Tack Glue.  The piece now stands at 35 x 20 cm.

I really have to get my light box up and running to get better pictures.

So all that is left for me to do is to get to the DIY store, pick up some wood, get my router out and make a frame for it to sit in ( still unwell or would have had it done already ). Oh! And enter this into the Clarity Challenge for this month's feminine challenge before time runs out!!!

I hope you like it. And if you have never had a go at this it is much easier than I have made it look!  Have fun!

Hugs to all xx


Challenges:  http://claritystampchallenge.blogspot.co.uk/2014/08/challenge-18.html

Monday, 2 December 2013

Rose Panel

Hi again Folks!  So today I got my Comment Candy Win and I have started to play with it.  My first play is with the New Rose Panel Stencil from who else but ClarityStamp 

I began by cutting an A4 sheet of Double Sided Tape down to 10.5 x 24.5cm.  I took the Rose Panel Stencil, smooched it with a Tumble Dryer Sheet and placed this down onto the Double Sided Sheet, removing the top protective layer first, which I then had to put back in place.  I then took a Small Ball Tool and went over all the edges of the design then I went around again with a pencil.  I removed the protective layer and proceeded to cut out the Leaves and the Roses.  I replaced the protective layer back in place. 
Once the tedious stuff had been done I got out my Gilding Flakes. I used Large Gold Gilding Flakes on the exposed Leaves and the Roses.  I gave them a bit of a Burnish with my Finger Sponge and then I removed the Protective Layer and got in about the edges with my Large Copper Gilding Flakes.  When I got around to Burnishing I did it from the outer edges inwards.  I then laid down more Copper Gilding Flakes and Burnished the lot.  I then removed the Rose Panel Stencil and I took a paint brush and brushed in Pearlescent Wine (Perfect Pearls Beautiful Earth Collection).                                                   
My next step was to mount this on to a piece of 300gsm Pearlescent Mauve Parchment.  I trimmed this using my Perfect Layers Ruler. (If mounting sticky sheets it is always best to gently lay down in the middle while keeping hold of the ends and then slowly lay these down).  I finally layered this onto a piece of  350 gsm Matte Black Card from my stash and the result is .....


I think I will have to look for a frame for this as I really like it a lot, I hope you do too!

I am away to play again!

Happy crafting!

p.s.  Thanks once again Barbara Gray for picking out my name xxx